Simple Diy to Make with Medicine Boxes
We use medicines in our everyday lives. They are very important as they cure us of different ailments. In our lives, we go through different seasons, weather fluctuations and temperature alterations. All of this can lead to changes in our surroundings which our body is sometimes not capable of dealing with. Similarly, there are viruses that could be harmful to our bodies. They weaken pour immune systems and can make us ill. If we do not take care of ourselves properly, we become prey to these viruses.
But medicines cure us in such times. They enable us to fight these situations by providing our antibodies that can keep away diseases. Given the nature of illnesses, they can hit us anytime. Therefore, every home should have basic medicines always available. These home medicines ensure that we have enough to keep ourselves healthy during unhealthy turns of different seasons.
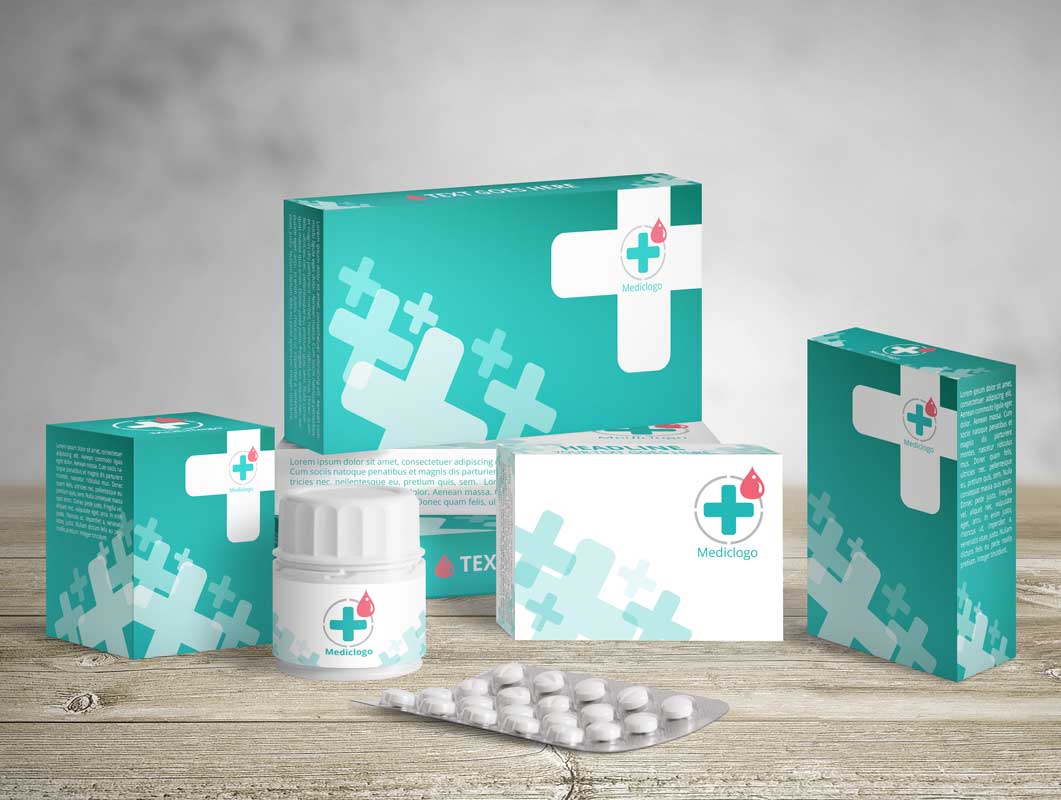
To keep those medicines safe from contamination, we should have a container that is clean and keeps saves medicines from dirt, UV rays, and moisture. These are the leading factors in making medicines unfit for usage Every home should have Medicine Boxes that can be used at any time by anyone. But there must be some caution while using these boxes. They should be kept out of children’s reach. Children can consume medicines for fun and cause harm to their health. Similarly, elder people might not be able to take the right medicine put of the mix themselves so they should not also be allowed to access the container freely.
There are simple steps through which such a box can be built.
Equipment
Just like a house cannot be built without bricks, a box cannot be built without using basic tools. To build a medical container, the things needed are a bonding tape, ruler, scissors, and cardboard box (a used one can be recycled for this purpose), marker, and glue.
The marker used must be permanent with thick ink for easy identification of different medicines and equipment.
Step 1
The cardboard needs to be sorted out, first of all. The box should be unfolded and made converted into a large cardboard sheet. This sheet can later be made a box. The original cardboard casing should be unfolded with care otherwise there are chances of corners and edges getting damaged.
Step 2
It is time to use the scale. The number and amount of medicines that need to be stored should be ascertained beforehand to make the perfectly sized box. The standard-sized boxes are not very big but larger boxes can always be designed. Measure precisely using the scale so the container is suitable for usage.
Around 2 inches of space needs to be left from the original edges to create new ones. Repeat this process around all the sides to make the edges fresh. Freshly cut edges are easier to bond because they are dirt-free and can be glued easily because of their large surface area as opposed to rugged, older edges and corners.
Step 3
After marking the cardboard all around, cut 5 equivalent pieces from it if the box is to be made square. The rectangular box can also be made but it has different dimensions and needs to be cut differently. It will require a larger base and the top with smaller right and left sides.
Smaller cardboard pieces can also be cut to create a section inside the container. This section can be used to store different types of medicines.
Step 4
After cutting 5 large pieces, they should be joined together using glue. First of all, the base should be put on a flat surface and the right and left parts should be glued on it. They should be pressed on the surface with some force and let dry for 10-15 minutes. Now the next two parts should be glued on the surface by pressing and drying them for 10-15 minutes.
If sections are to be made, they should be glued before sticking the sides. They must be glued on the base from the start and after that, the sides should be joined with the base. If the glue is not strong enough, the scotch tape can be applied on corners and edges for extra protection of lockable medicine boxes.
When the glue has been applied and the box has been completely built, it should be dried for almost half an hour for strength. After that, different sections can be marked accordingly.